How to add Products in Shopify
Shopify has emerged as one of the most popular platforms that allow you to kick start, grow and streamline your eCommerce business. Shopify lets anyone set up a virtual store and sell their products online or one-to-one. This is however not as easy as it seems and you need to first become familiar with the whole process of Shopify Product upload.
Step by step guide How to add Product
So First, you need to create a Shopify store; it’s the intrinsic website building process of the store that makes it extremely smooth for the users to generate sales online. By doing so not only you can build an outstanding brand image using prebuild templates, but you can also bank upon those end number of useful add-ons and plugins from the store of Shopify too.
Product Page is one of the most important aspects of eCommerce business, an effectively build and crafted product page can increase your traffic & conversions rate. So now first let’s understand, how to upload products in Shopify in an effective manner:
Step 1: Create an account on Shopify
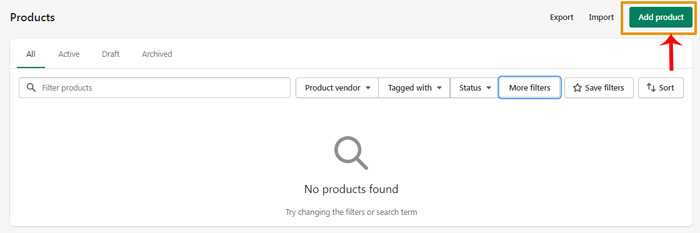
In order to build your product page, you first need to create an account on Shopify. Keep your log-in information, such as email address, store address, password, etc. handy for the same. Thereafter, go to the Products tab option which is placed below the Search option in your account on Shopify, Go to this tab and you will find options such as “Import Products” or “Add a Product”. Choose to add a product to access the product page.
Step 2: List down Product Details
In the next step, start filling in the details of your products. Product details required to be included are:
- Product Name
- Description
- Product Type
- Vendor
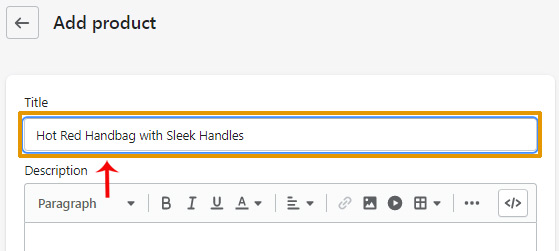
Product Name
Product name or the title is what will help you make your products to stand out. For example, if the product is women’s handbags, then you might title it as “Hot Red Handbag with Sleek Handles”. Ideally, the title should be brief, eye-catching, and straightforward. Provide your customers with all the information possible without making it too much.
Also remember that all the titles need to be in sync with each other, for example, if you choose a particular color on the title of one product, you should do likewise on other product pages too.
Description
The Product description is undoubtedly the most important thing that appears on your product page. It is what attracts your target audience and convince them to buy your products. In order to create a compelling product description, make sure that enough focus is being laid down on the product benefits.
Whenever you are adding a new product, follow standard HTML elements formatting guidelines for the description. You can use bullet points to feature the products or even create a suggestion list of purchase for the customers alongside their actual purchases.
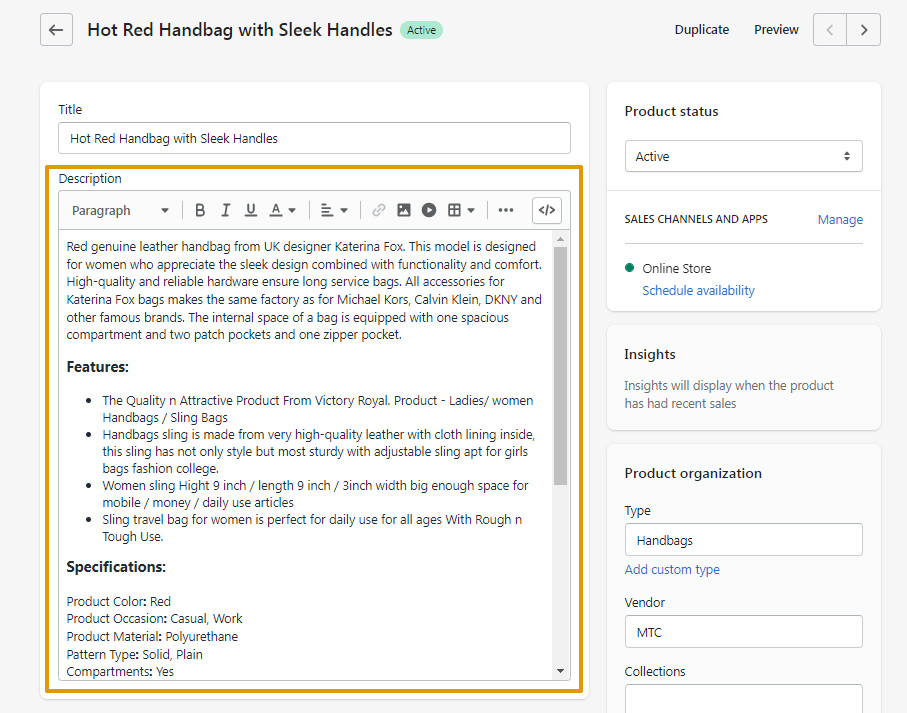
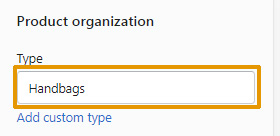
Product Type
However, you do not need any creativity here. You can use a term or a word that would classify your product and put it in a specific category. For example, if you have Women’s handbags then you can simply create a Handbags as product type.
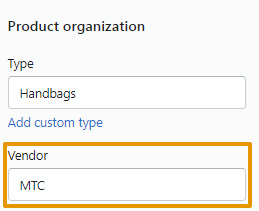
Vendor
If the product is your creation, then do your branding by mentioning your name there. Alternatively, if it’s another brand’s product you are selling then create a vendor section to highlight the supplier or the manufacturer. For example, MTC is a vendor for women handbags.
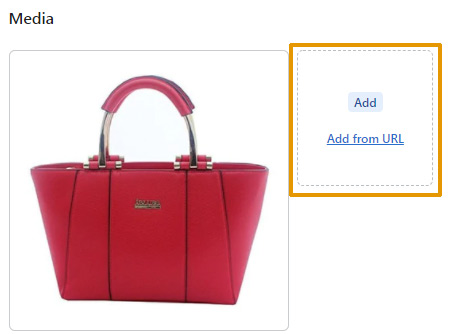
Step 3: Add Product Images
Once you have filled in all the required details of your products then start entering the product images so that they can look more attractive and can give valuable insights to the customers before buying those products. In Shopify, you can both upload and add images from Url options.
Also, make sure to provide your images with a good title & alt text because it will help search engine spiders to identify your image and webpages all about and eventually improve your online visibility. The image with standard SEO optimization helps in locating pictures and improvising your SEO ranking.
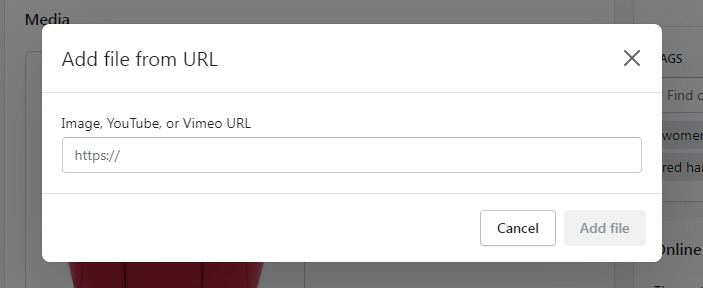
Product Images
In Shopify, You can also add the media files from the URL like YouTube, or Vimeo URL.
Click Add media from URL link, and then enter the video URL of the product hosted on YouTube or Vimeo website.
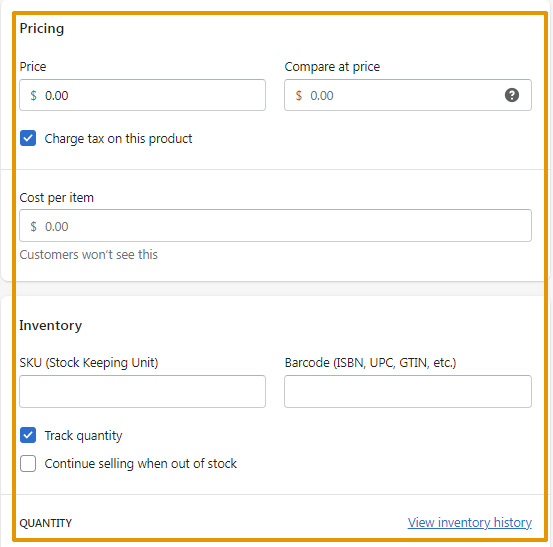
Step 4: Inventory Price and Additional Information
Once the product description is complete, the next step would be to fill in the remaining details. Go to the Inventory and Variant section on Shopify and you will be able to mention such details as product SKU, weight, and shipping options.
Price
All your customers would want to know the pricing of the product on your eCommerce store, therefore it becomes important to mention in specific the price of each product. Be careful with your pricing, as high pricing often turns off the customers, or selling it too low might impact the inflow of your profits.
SKU
The SKU section on the products page is where you specify your Stock Keeping Unit. This is nothing but a unique identifying number given to each and every product. This number can be obtained from the manufacturer’s website or you can pick it up straight away from your supplier.
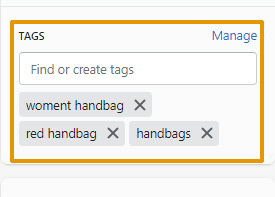
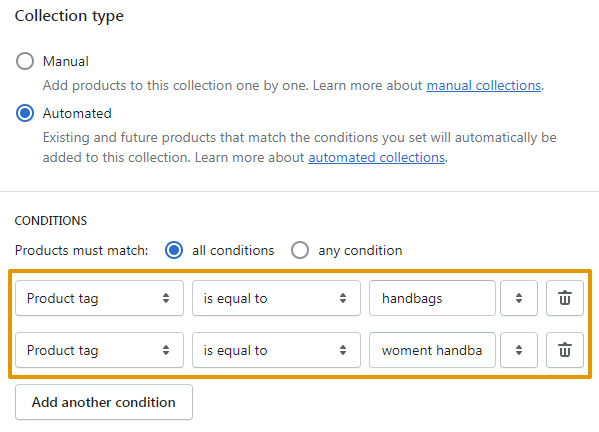
Step 5: Include Product Tags and Collection
Once the pricing and inventory are in place then the next step would be to add products tags and collection. Go To Tags section under Product organization section here you need to add product-related tags in the text box and these product tags allow you set up product filtering on your collections pages. This will ultimately build a robust shopping experience for your customer because they can find the products quickly and accurately.
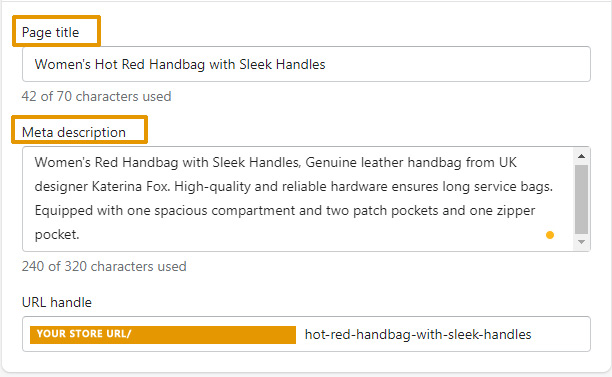
Step 6: Update your Meta Information for Search Engine Listing
Guess what!?? Shopify will auto-generate page titles and Meta descriptions from your product listing so as to assist search engines. But remember that these auto-generated details always do not do justice with meta-information required to beat competitors and achieve higher ranking.
Make sure that your page title, as well as meta-description, are rich with useful keywords so as to gain the maximum advantage of the SEO. To edit the details, go to the Product Details Page, then click on the Search engine listing preview.
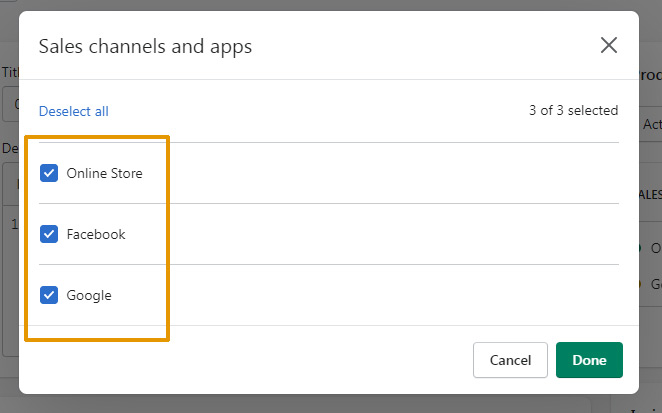
Step 7: Make Live your Product Page
In Shopify, you can add multiple sales channels with your online store options, like online store, google, Facebook. When you are ready with the product pages, give a quick glance through all of it and go to the Save Product button which lies on the bottom right of the screen. Scroll up the page once you have saved it all to check the preview of your page.
Conclusion
As a beginner, it might now become easy for you to kick start the Shopify product entry. But when it comes to building a large product catalog you can choose the Ecommerce Product Entry Services by India Data Solutions, so that you can save your time and efforts and derive the maximum advantage of Shopify Product Entry.
Read Related
Why Data Entry Companies are the Need of the Hour
5 Benefits of Outsourcing E-Commerce Product Data Entry Services